Sunday, February 14, 2021

biscornu

I had grand plans last year to hand make a bunch of Christmas presents, and like most other years it just didn't happen. So I'm trying to get a jump on it this year, focusing on a craft that will also help develop my needlework skills. 

Why biscornu? I have no idea. They just sort of popped up in my Pinterest feed and I was enamored, though I can honestly say after having stitched the top of one I'm not sure if I want to cross stitch twelve of them. I have a yard of white linen and no idea what I'm doing trying to cross stitch on it.

This one is small, about 3" square when I started, and I'm looking at it now wondering if it wouldn't make a great pattern weight if I put some washers in it as well. 


I did end up purchasing some crushed walnut shells and lavender buds to fill it with. 

Saturday, February 6, 2021

Leclerc Saxony Wheel

I came home from work yesterday to this cryptic text that wasn't on my phone by my mother's - would I like a spinning wheel?

YES.

It took a little investigating to figure out whom the text was from, and it turns out this same person had already gifted me with a demonstration kit consisting of a drop spindle, carding combs, and small amounts of wool fleece in various stages from raw to ready to spin. Saturday morning I ran over to her place and picked up the wheel, eager to play with my new toy. In the before times, I probably would have left immediately for the yarn shop, but with the social distancing and occupancy regulations, I had to call the shop first and make an appointment. 

My dad really hasn't left the house since this whole quarantine thing started, but he had reached his limit for sitting around the house so we went on a mini adventure - he stayed in the car while I bought fleece to spin, and I stayed in the car while he bought and traded some coins at the coin shop, and we both sat in the car and ate fast food in the restaurant parking lot because COVID (these are some seriously strange times we're living in; I'm sure anyone who has lived through something historically significant was also shaking their head, to say the least). 


I should have bought more fleece to spin, but I didn't think I was going to be this taken with it. If you don't know anything about spinning, the wool fiber has a bunch of different names depending on what shape and state it's in; I'm going to refer to this a roving. It had to be drafted, or pulled apart out of the hank, before it could be spun.


Nothing comes out perfect on the first go - I need more practice to get a consistent twist in the fiber as well as yarn size. 


Smee is entranced by the wheel. He won't leave it alone when I've got it out. 

Double ply Lamb's Pride and malabrigo Nubemalabrigo Nube, 100% Peruvian merino, colorway Piedras

Update: Some finished product! On the left is a double ply (1 single ply plus 1 single ply = 2 ply) of the first bits of spun roving and a hank of Lamb's Pride Worsted in Brown Patina (apparently it's wool and mohair, I had no idea until I looked at the label for the color name). On the left is a chain ply, which creates a 3 ply yarn. If you're not already confused, plying this together on the wheel looks a bit like a combination of spinning and crochet.  


Saturday, January 9, 2021

the 2021 project finish list

Last year I pulled together a list of 10 projects I wanted to complete, and this list is the 2021 edition

The first three projects are left over from last year's project list and include

  1. worsted wool gown - Finish the 18th-century worsted wool gown
  2. Finish hand quilting a utility quilt - the orange marmalade one 
  3. Bind two matching green quilts - the binding is at least cut. 
The remaining 7 projects are 

4. Garter Yoke sweater - saw a picture of a finished one, but the pattern was outrageously expensive, so I'm kind of making it up as I go. One of the sleeves is done. It has both sleeves, and part of the body. Right now it's hibernating.

5. An 18th century silk gown - there's no post for this, but it was started

6. Quilt a panel quilt - I ripped the old border off and put on a new one  3/13/2021
This project was completed (except for the border)  along with two others I didn't intend to work on but was able to get done. I used a bamboo blend for the batting and it has the best drape of any of the quilts I have done on a machine. 


7. Quilt an Americana quilt - its in one piece now


8. finish knitting a wool cowl with handspun yarn 2/13/2021
This was gifted to someone, and I forgot to take a picture

9. Complete a wool capelet - I don't think I need the wool for this, but I may need silk...

10. (I don't actually have a 10th project!)
 

Saturday, October 31, 2020

yoke cardigan

 
I've never tried a cardigan before, let alone a top down yoke style, so I thought I'd give it a shot. I'm sort of following a pattern, sort of 'making this up as I go', since what I wanted was to feature the colored yarn without any Fair isle, lace, or stranded color work.  
 
The yoke of the sweater is the left overs from the mitered square project, the colored section of the sweater beginning with the full size skein of yarn I created out of the bits of malabrigo's sample nuggets of Rasta (a single stranded yarn for those of you not in the know), purchased from Jimmy Bean's wool, and then moving onto the less fuzzy, multi-stranded (plied) yarns from malabrigo (Rios?), Wonderland yarns, Patton's, and others I don't know the brand for. I'm still actually collecting bits and pieces for that blanket project, so this sweater may be stalled for a bit, or at least until I get the yoke to the correct size. The body of the sweater is going to be a Patton's worsted wool in navy blue, and it's possible I might include little bands of color around the bottom edge of the cuffs and hem, depending. Depending on a lot of things.

My last adult sized sweater was a disaster, and I can't say the baby pullover I made was much better. Baby cardigans are the way to go, people.

2/14/2021
This project has actually been less onerous than the last sweater I made. The problem I have run into has nothing to do with the sweater, rather the yarn. I bought several balls of the navy blue on sale and thought I had enough for the project until I got to the last ball of yarn and realized I was going to have a cropped sweater. I wasn't concerned initially because I knew I had another ball of navy yarn; it was a different brand but surely this wouldn't be a problem. 

It's a problem. They're not actually the same color. I wouldn't even call brand B navy, I'd call it 18th century French Marine, as it isn't dark enough to be what I've always thought of as navy. When I thought I would solve the problem by ordering another ball of the original Brand A yarn I have been using on line... turns out that is a problem, too. Brand A has changed the packaging as well as the dye lot; their new navy isn't as dark as the original either. The color shift shown is from the combination of the original yarn and Brand B, and is difficult to notice unless viewed in bright lighting. It is enough of a change that I'm not sure how I want to proceed at this point. Kool-aid dying might be in my future. 


Saturday, October 17, 2020

The Larkin and Smith English gown(s)

 I started these bad boys back in 2018 when I was nannying for a friend, who still has an amazing fabric stash for projects. (I'm more the person who says, ooo, I want that fabric for this specific project. She, on the other hand, just buys the fabric, and worries about the project later). 

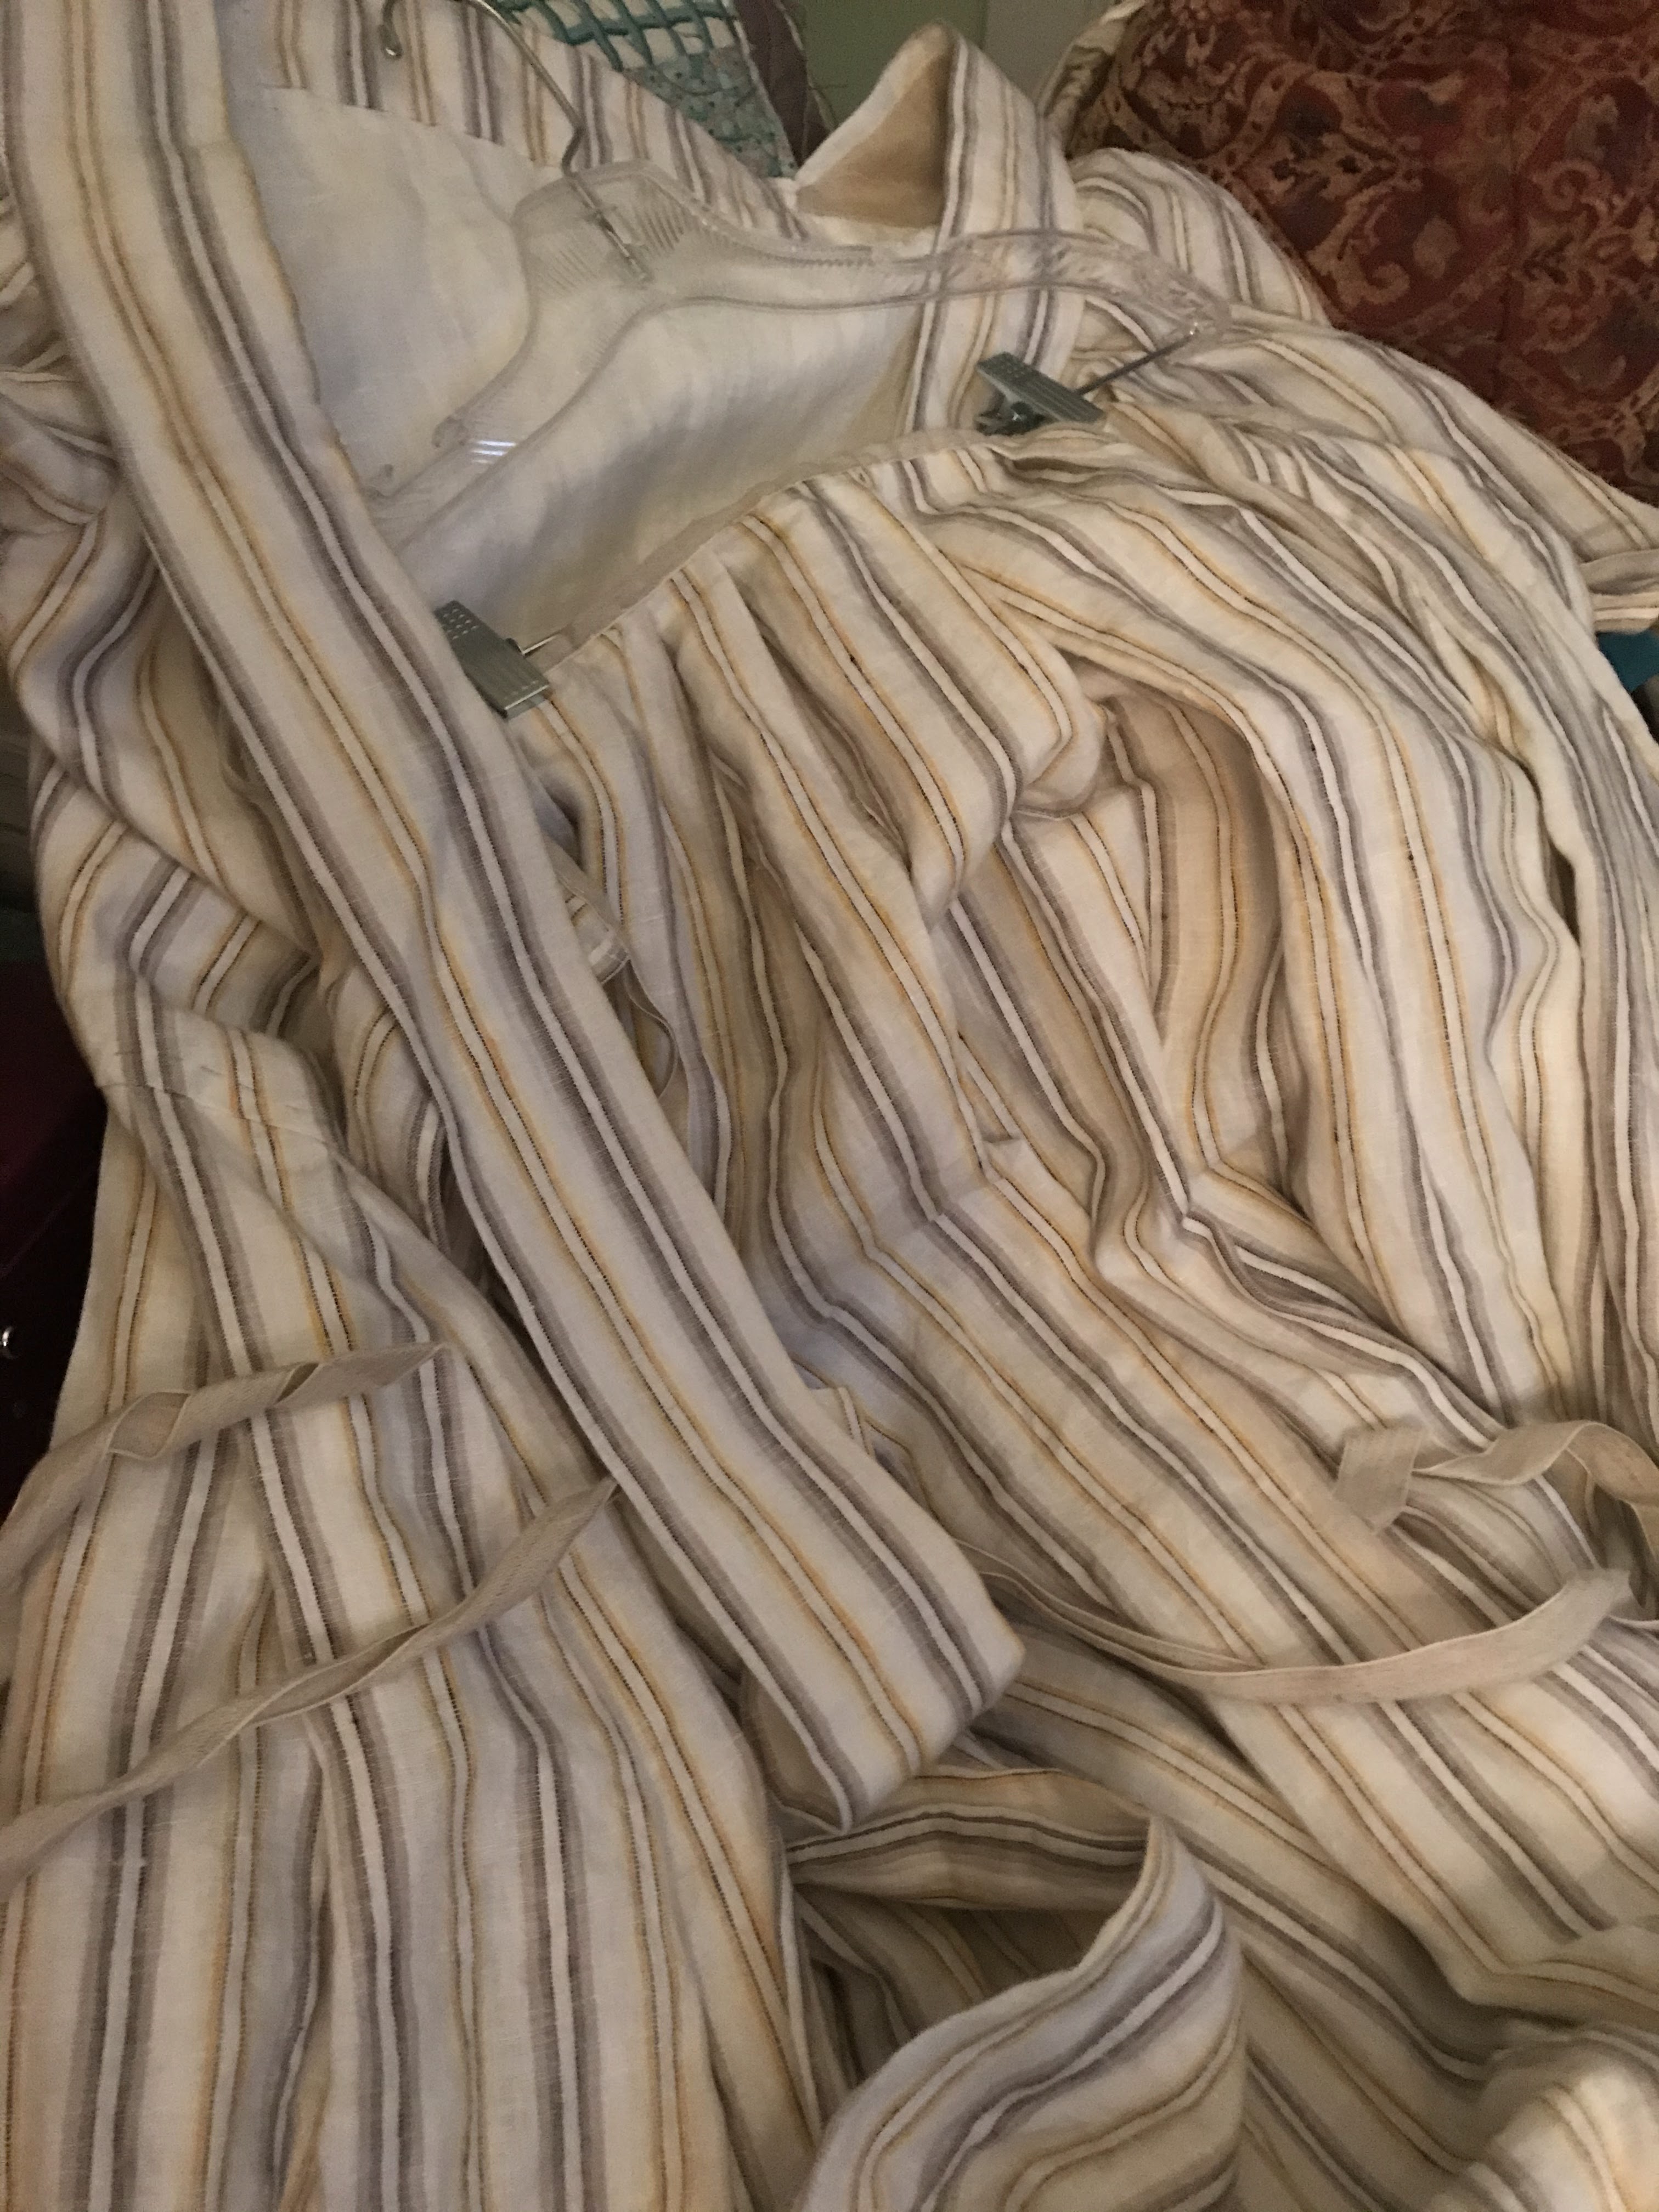
Part of my remuneration for watching her kids was yardage and yardage and yardage of a beautiful yellow and mauve linen stripe and a mauve worsted wool. I never knew wool could feel like this. It's not scratchy. It's wonderfully smooth. I've been watching Burnley and Trowbridge for another worsted, and I think I may need to purchase the Aurora lightweight stuffs - it's like the color of peach skin.  

Anyway. I've been bungling my way through these gowns for the last two years. I got busy with work, with grad school, and then COVID happened, and suddenly I found myself with a lot more time on my hands than I anticipated. It didn't hurt that I was able to meet up with friends for a sewing weekend and ask questions about construction that frankly, I couldn't figure out from reading the instructions. 

They're mixed parts of hand and machine sewn - I did blind hems on the linen gown and petticoat so I could have one of the gowns for sure ready for the coming weekend. 


Update: It's the end of January, and I'm almost done sewing the wool worsted! It looks like I made a mistake with the sleeves, which I have to go back and fix, but it's not a big deal. What is unfortunate is that I have these two finished gowns and no events to wear them to, thanks to COVID!

March 27 - I was a fool and didn't line the sleeves, and am having a devil of a time finishing off the sleeve hems. I don't want to have to take the sleeves off and construct them in the period manner and put them back on, but it's looking like that's the best solution. Why didn't I in the first place? I was on a weekend sewing retreat when I cut the sleeves, pressed for time, it was Sunday, there wasn't linen to make linings... I could go on. I should have waited. 

I did actually get to wear the linen gown during Read Across America week, it was "Different Decade Thursday" so I freaked the kids out and went with a different century entirely. A few of the parents thought I was Amish. 


Saturday, August 29, 2020

Weather at work

 I started a new job on Monday and we had this storm roll through on August 27th. This shelf cloud was incredible to watch forming!


Some sights from Quarantine

These are some photographs, in reverse order, of some of the sights of the COVID quarantine of 2020 in Northwest Pennsylvania. 


October 10, 2020 Day 215
More funny sign at the local bagel place


October 1, 2020 Day 206
The local voldemart is back to allowing people in both doors instead of one entrance and one exit. You still can't get a lot of cleaning supplies.

Tuesday, August 11, 2020

the easy peasy tank top dress

When I was a little girl, my mom made me three dresses from tank tops and what at the time was probably a half yard of fabric. I remember one in particular, a blue ribbed tank with a skirt of a red, yellow, and blue ditzy floral seersucker. I remember them as being my favorite summer outfit.


So imagine my surprise when I discovered that this is nothing new under the sun, and actually, someone had improved upon it? I wasn't really surprised, more like, oh how cleaver. Wish I'd thought of that sooner. 

I read two tutorials about how to make these,  but the clearest by far was from A Small Snippet's blog about making just the dress I'd had as a child. Of course, for a child, you end up not needing nearly as much yardage for the skirt, and the skirt on my dresses was short because I was playing in them.  Come to think of it, I'm not sure how my mother made the dress so that the waistband wasn't restrictive. I tried making another teeshirt dress with a shirt and an attached skirt, but it just didn't work.  I wanted something breezy and non-binding for a midsummer surgery, and I really wanted these to work. 

Enter elastic thread.

I used my Singer Precision to sew two of these dresses, and I was able to wind the elastic thread on my bobin using the machine bobin winder just like regular thread, no problems. The problem was I now have umpteen bazillion yards of elastic thread because a cone of the stuff was all I could manage to find. Pandemic problems, much? Unless you're planning to make several for yourself, your kids, the nieces, the neighbor's kids, the little Dritz package of elastic thread will suffice. Unless you've got another use for elastic thread in which case, go nuts, buy the big one. 

So, I've convinced you, you want to make one. Excellent. I'm not going to rewrite the tutorial here, but I will add these notes from my making experience that may make your life easier.

Materials you may or may not have on hand

A tank to cut up - As I said, I got mine at WalMart, I paid $3, if that? The fit for the green one is loose, the pink is more snug. 

Fabric yardage - you do need to measure, and you can measure either by using a tape, measuring your waist (or where your bra band is, if that's where you want the skirt to hit), and add half whatever that number is, OR you can go to the fabric store, and wrap yardage off the bolt one and a half times, and have them cut it at that spot at the cutting counter. If you're still confused...
Say a 40 inch waist, which means you add 20 inches to that for a total of 60". Which is roughly 1 and 2/3 yards of fabric. See, I practically did the math for you. There's also nothing saying that you couldn't use more yardage and have a fuller skirt, but I'm not sure why you'd want to? It's a giant tube, so it's not going to flair out at the bottom. 

Elastic thread - essential. Your waistband won't be elastic without it. Trust me. You need that waistband to have some give. Did I mention I had surgery? Did I mention I was ridiculously bloated beforehand? To the point I looked five months pregant? This dress had me comfortably covered. I'm also wearing them post surgery because they don't interfere with the incisions.  

Some construction notes - 

- Elastic thread isn't that scarry. It really isn't, and it's going to help you get that dress on after you're done sewing, trust me. 

- I wish I could have tried the tanks on ahead of time (dressing rooms closed, thanks COVID). I wouldn't have bothered with the green one, though it does do a better job of covering everything it's supposed to. The pink one not so much.
The lighting is horrible in this picture, but you can see there's a light colored stripe running around the front of my shoulder. That's where the tank doesn't cover my light pink bra. It's not just this bra, either, it's all of them.

For reference, I'm a 36F, and the tank is a 3X Time and Tru from Wal-Mart. I marked three inches above my natural waist on the tank (with a pin) for the skirt, which also happens to hit my bra band. For the skirt length, I measured my bra band to ankle length, and added about two and a half inches for seam allowance and hemming. Since you cut one of the selvage (woven side) edges off to get your length, I used the finished edge at the top to keep things neat, and hemmed the cut edge - it gave me an excuse to try the blind hem foot.  

- I took the extra step of finishing the inside of the pink floral gown by leaving a big seam allowance of the knit fabric, trimming down the print, and making a casing (French seam) out of the pink knit. On the outside, it looks like I have 1/4 inch elastic at the waist... but as you can see from the inside, it's really that small folded over casing, and three rounds of elastic thread keeping things snug but not too snug. I wore this pink gown to the hospital on surgery day with a little lightweight cardigan, and the waist band stayed up and out of the way of the incisions, which was the overall goal.

- The back seam of the dress is the only seam - aside from the bottom hem - that doesn't use the elastic thread in the bobbin. I wish I would have taken the five seconds to finish the raw edge of the back seam - it's just a nicer presentation, and it really is more comfortable to wear. 
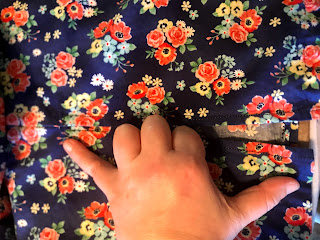
 The tutorial I followed said a vent for a maxi dress was optional.
Hah.
 Save yourself the trouble. Put in a vent.
It doesn't even have to be that long,  I think the vent in this one is 10 inches at most? Just remember to mark how long you want the vent to come up from the raw hem edge, reinforce the top of the vent, and stitch the edges of the vent down. I did the back seam first, and back stitched at the top of the vent. I then clipped the seam allowance so that the vent edges were separate from the back seam and rolled them under, and I top stitched up one side and down the other, back stitching at the top of the vent. Remember how I said I was lazy? I should have finished the back seams while I was at it, and just reinforced the top of the vent while I had everything turned under. Alas. 

Last but not least. I don't have a picture of the waistband that you make out of the leftover bit of fabric you cut off the edge of the fabric. I end up tying them in a square knot because they're not long enough to make a bow. They also don't stay in place that well. I'm seriously considering making belt loops, either out of fabric or using some crochet cotton and making a little crochet chain I can stitch to the sides to keep the belt in place. Why the belt? It coveres the join, and it does make the dress look more finished. 

Tuesday, August 4, 2020

gym-ish shorts

I love these shorts. My mother says they look like pajamas and I shouldn't wear them out of the house... this may have something to do with my choices of fabric. Regardless, I sort of don't care what she thinks about it because they are so comfortable. They've been made for a while now, but I haven't gotten around to posting about them because life? COVID? They're probably two years old, maybe three. 


These shorts [for me, at least] fall into the category of Things-I-Can-Make-With-a-Yard-of-Fabric, or conversely 3/4 of a yard of this and half a yard of that. And some very rando bias tape. Something else I love about these shorts is that there is no pattern - shut the front door, I know! Here's the however because I can see you've already decided you don't want to bother without a paper pattern because anything without a paper pattern is too hard. If you have any kind of straight ruler, a measuring tape, a bowl, and either a few brown paper bags from TJ's or WF or a roll of wrapping paper, you, too, can do this. Pinky promise.

Some things to note:

If you're liking the shorts idea but don't really want your shorts to wrap around, check out this pattern from Purl Soho City Gym Shorts

I mashed up two patterns to do this; the instructions and pattern from a pair of shorts designed by Tara Miller and published in the Stitch Magazine originally and the measurement instructions for these Tap Pants [which I also have made]. I made the tap pants first, and then adjusted the tap pants pattern so that it had the lines I wanted for the gym shorts [tulip shorts, boudoir shorts, seriously, these things go by many names]. The Miller design wants you to cut out out the front fold over bit as two pieces, so that there is a side seam. If you follow the original, you can add pockets. Don't get me wrong, I love me some pockets. At this juncutre, I didn't want a side seam, especiallynot when I planned to use a solid for the back and sides where the seam would be obvious. The blue rose print would hide a side seam better. 

Making the side panel and back panel into one is simple enough. If the pieces are already cut out, simply fold the seam allowance bit over (if you're the type to include a seam allowance in a paper pattern - I am, I never remember to put it back in!) and tape the edges together, or if you're feeling very bold and daring, lay the two pieces down together on the fabric with the edges lined up and pin them to the fabric to cut out the pieces. You make have made a pattern alignment mark, such as commercial patterns have notches so you know where to line things up. That should help. 

And that's it! This doesn't really change the construction of the shorts, only that you've eliminated two side seams. 

Tuesday, July 28, 2020

Rag quilts

A while ago, and by that, I mean at least ten years ago or so, my mother got wind of the recycled denim rag quilts and decided she wanted one. So, we made one, and there's a lot of denim fabic left over - we were chopping up pants not fit for donation after all, and when people found out what we were doing, they gave us worn out pants... it got a little out of hand.

My mother loves that first blanket but I'm not such a fan. Mom always wanted it to have a "more finished edge", but with it being a rag quilt, I wasn't sure what to tell her. It's not like you are supposed to bind the edges of them. I mean, I guess we could...

Fast forward to today. Or, rather, a few months ago... maybe longer. While trawling Pinterest, I saw another version of a denim rag quilt. This one was labeled a mock Cathedral Windows [and to be honest, I can't even find the pin now].

Eureka, I've figured out what I'm doing with the rest of the denim.


Now, if you know anything about me, you know that I also lost it [all of it, fabric, batting, the works - I even forgot I owned that rotary cutter, come to think] and found it again [except the rotary cutter]. And it wasn't even part of my 2020 Find-it-and-Gitter-Done Top 10 challenge to myself! There were no instructions, just pictures. So I had to wing it, and you get to reap the benefits. 

Repeat after me: I DON'T NEED A FANCY ACRYLIC TEMPLATE. 

Materials:
- A CD or Mom's Corelle. It's the one that's about 6 inches across. A CD or DVD, or one of the plastic CD size pieces that sits at the top of a spindle of blank CD's work as well, they're about the same size. 
- Fabric of your choice, cut 4 1/2 inches square. You don't need batting, but I had some cotton bat kicking around, and I wanted to use it up, and it gives the quilting a little puff. It is a pain to cut with a rotary cutter, so you may want to skip it.
- Denim, cut into circles
- Pinking shears (for the denim)
Note: could you use a charm pack? Yeah, but that means the circle is going to need to be bigger, and that kind of maths is beyond me.

Figure out what size you want the finished project to be - I'm a wing-it kind of person myself, which often means I buy too much or not enough fabric to finish a project. I was going for a throw size, roughly 40 inches by 60 inches. 

-I think I had the equivalent of 8 fat quarters of paisley fabric, maybe 10. I can't remember now. As for denim, I think I had 8 - 10 pants?  

Method:
  1. Cut your squares and circles.
  2. Pay attention to your denim - as a twill, it has an obvious right/wrong side. With wrong sides facing, lay a fabric square on top of denim circle so that the corners of the square touch edges of the circle on all sides. If you're using batting squares, sandwich the batting square between the denim and the pretty fabric. Pin if you wish, and stitch down from corner to corner of the pretty fabric to keep things from shifting.  
  3. Choose your own adventure - finish sewing all of the circles and squares in this manner, or begin to stitch the prepared patches together as you go. I don't recommend this if you choose to wing it, because then you may end up with a concentration of one kind of fabric in one section of the quilt, and it just looks awkward.
  4. Sewing the patches together -
    Take two prepared circles, and lay them so that the right sides of the denim are together, lining up the straight edges of the squares. Make sure your quilting lines are going the direction you want them to, or don't. Pin if you wish.  
  5. Using the straight edge of the square as a guide, stitch along the edge of the square as close as you can without sewing the square down. Now, there should be two half-moon looking flaps of denim flopping around between the two squares.
  6. Fold the denim flaps down towards the pretty fabric so that they lay flat, press or pin, your choice. I used a zigzag stitch to sew down the flaps, as close to the edge of the denim as I could get. 
  7. Repeat steps 5 -6, sewing together prepared circles and stitching down flaps. Eventually, you're going to get to the point where you have long seams and you're stitching down a lot of flaps at once - if you plan ahead, you can turn the project so that the flaps are sewn all at once. 
  8. Once the desired size is reached, fold down the edge flaps of the project and sew down all flaps. 
Et voila! you're done! 

I'm not that far along in the process, but that's how I'm going to finish when I finally do. 

larger pieced squares